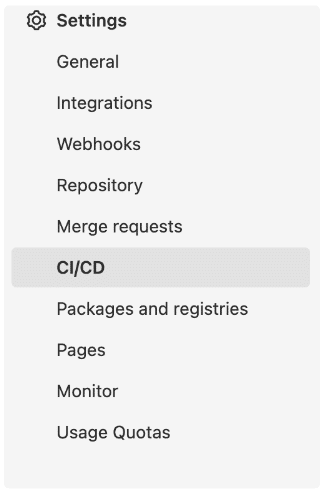
Quokka Q-MAST – Gitlab Integration

How to Use the Integration

Before using the Quokka Q-MAST Gitlab Integration, if you have a Gitlab Ultimate subscription, you should first enable the DAST report within your Project. This can be enabled within the Security & Compliance > Configuration menu in your Project.

Please Note – Quokka Q-MAST Gitlab Integration does not require a Gitlab Ultimate subscription. You can still use the integration on the free tier license, you just will not be able to view the DAST report within Gitlab.

security and compliance drop down menu
security configuration settings

After enabling the DAST report, you can begin to modify your pipeline’s .gitlab-ci.yml file.

Add the following lines at the top of the file:

Once you have added the “include” lines, you can create a new job name as long as you extend .analysis:

You can use custom variables within your .gitlab-ci.yml file as shown here, or you can use the default names we have set up. These will be visible within the analysis.yml file.

To change your CI/CD variables, go to SETTINGS > CI/CD on the sidebar.

settings drop down menu

Find and expand the VARIABLES section and add your desired variable names – either the default or custom ones.

list of variables

Now, when you run your pipeline, these values will be filling in and our image will run:

Supported IoRs

Now, when you run your pipeline, these values will be filling in and our image will run:

  • HTTP_TRAFFIC
  • MISSING_COMPILE_PROTECTION
  • INDIRECT_FACTORY_RESET
  • MALWARE_DETECTED
  • PRIVILEGE_ESCALATION
  • PASSWORD_EXPOSED
  • DEBUGGABLE
  • PII_LEAKAGE
  • HIGHRISK_COUNTRY_CONNECTION
  • USES_HARD_CODED_CREDENTIALS
  • HARD_CODED_KEY
  • ACCEPTS_ALL_CERTS
  • TRANSPORT_SECURITY_DISABLED
  • CONTAINS_LIBRARY_CVE